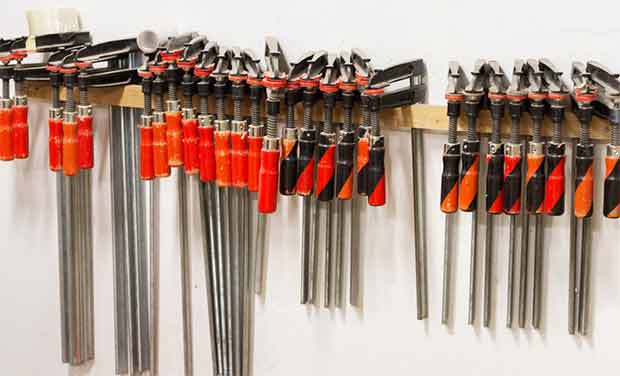
It is about time that you take a less complicated step into creating your bar clamp. It is a long process, but it is worth the time that you can make something that will benefit you with your projects. You can avoid spending on more expensive materials that are not even durable.
I will show you simple ways on how to make bar clamps at home in a simple fashion. You can make as many as you want.
Table of Contents
Get Started: How to Make Bar Clamps
You don’t need a lot of things for this process. If you have a workshop near your house or in your garage, then you won’t have any problems especially if you have the essentials. For the rest of the items, here are the things you need:
- 1 x 25mm SHS
- 2 x M12 3.6m threaded rod
- Nuts
- Washers
- Epoxy
- Construction Adhesive
- Table Saw
- Drills
The Bar
Let’s startup with a bar that can be any length that you desire.
- Make the threaded rod 140mm shorter at the head end, and the foot end can be as short as 60mm since the locking doesn’t need to reach to the end.
- Make sure to stick them properly with a good quality adhesive glue.
- Leave it overnight to dry.
The Head and Foot, Locking Nut
- You can use 12mm thickness or higher for the side so that it gives it additional strength.
- For the centerpieces, you can use 26mm thick from a thick wood or a construction pine with a table saw for accuracy.
- For the locking nut, you can use an excess of a threaded rod to weight it down.
Assembly
- Just sure that the measurements are right before you assemble them together.
- Make sure the foot is secured with wood glue and nails. It is ideal to use a 40mm woodscrew.
- It is the same that goes for the fixed head and moveable piece with wood glue and nails as well. You can leave a void around 26mm.
- Be careful where you nail the pieces as you might make the clamp useless.
- Drill a recess for the moveable head, and make sure it is wide enough to fit an M12 washer.
- Cut a 25mm square stock and 100mm off for the handle. Drill down 60mm with a 10.5 drill bit.
- Place a decent amount of epoxy for the fixed head to the bar.
- You can reinforce the locking nut by adding some epoxy glue as well.
- The end caps are added so that it stops the head to avoid it slipping of from the bar.
- You can do the final sanding and buffing for excess splinters to make an easier and smoother finish.
- Add the clamp pads out from a 7mm ply, but any wood would fill in as well for it.
- If you wish to put a paint job on the clamp, then you can do so.
- Finish.
Tips
- You can use other designs of the clamp, but it is based off from a 1:1 template so that everything will have a better fit.
- You can do some extra fillings to reinforce any necessary weak point of the clamp.
- Any shims left uncut from the wood, would cause the clamp not to drive out smoothly.
- Pay attention to where you put the screws it might get in the way of the sliding head to the bar.
Conclusion
It isn’t that hard, right? It only takes tame to make a homemade bar clamps. There are other prints and plan that you can find on the internet, but the one I based it from is the easiest that I have found.


