If you’re a woodworking enthusiast looking to take your skills to the next level, building a router table top can be a great way to expand your capabilities. The tabletop of a router table is an important component. It can be bought from the market but if you are planning on making your router table at your home then you also need to earn about making the router table top yourself. In this article, you will be told about a stepwise procedure of making a router table top yourself.
Table of Contents
When we need it and why we need it?
The router table top provides us many important functionalities necessary for the woodworking. The tabletop holds most of the instruments along with the wood you need to work on. In addition to this if you need to do some extensive work you will have to add different stuff most of which can only be added on the top of the router table that is why it is extremely necessary.
How to Building A Router Table Top:
Step 1
First of all, you need 1-inch high-density MDF material and cut a 2 feet wide section for the tabletop. Now you need to have a counter table laminate. You also need a router and contact cement. Some screws, a router bit, and a router insert.
Step 2
Now you need to remove the pen screws from the base of the router in order to use the insert as the base. You need to use countersink screws in order to do this. The router insert will be drilled in order to create holes for the screws. The bit which will be used in this process will be a pattern bit.
Step 3
Now you need to set the table saw in order to cut a standard panel for the top. Ow mark the counter table laminate and break it. Now put the contact cement on the whole of this sheet. Now clean the wooden piece for the tabletop and put the contact cement on it too.
Step 4
When the cement is drying up place three wooden sticks on the wooden piece and then place counter table laminate on these sticks. Now remove the middle stick and put the laminate down and adhere it to the wooden piece. Now take away the second stick and put the laminate down and then take the third one away too. Now put the whole laminate down on the wooden piece and make it adhere to it.
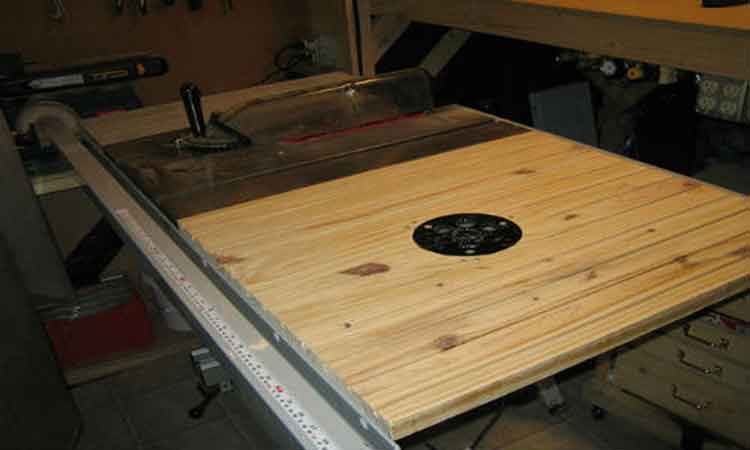
Step 5
The tabletop is ready and now a hole has to be cut for the insert plate. The plate should be on the top third or bottom third of the tabletop to have sufficient space for working. Now fix the plate in this position by moving the fence from both sides and also placing extra fences from the inside of these fences.
Step 6
Now you have to start cutting the hole after having the measurement of the plate from all four sides. Turn on the router and start cutting. After finishing you still can’t place the plate on the tabletop because you haven’t been able to get the piece out of the tabletop. So you need to use a jigsaw for this purpose.
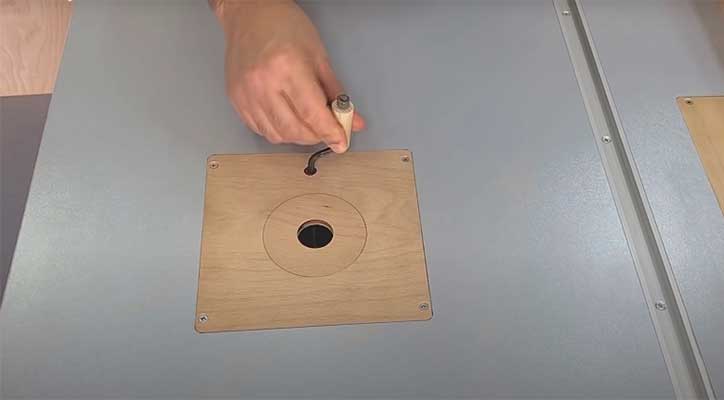
Step 7
Drill four holes in the corners of the piece which are already cut but cannot be taken out. Now use the jigsaw in order to put the blade in and take the piece out in order to fit in the insert plate. You can use height adjustment if you want to because it is better to place the insert table a bit low as compared to the level of the router tabletop.
Conclusion:
Building a router table top is a fun and rewarding woodworking project that can enhance your workshop capabilities. The router table top is extremely necessary for a router table. With the help of the stepwise procedure explained above in detail, anybody can make a tabletop at home if he/she has all the material that has to be used in this procedure. Here is a video in which this process is explained in more detail which will obviously help you out in doing this.