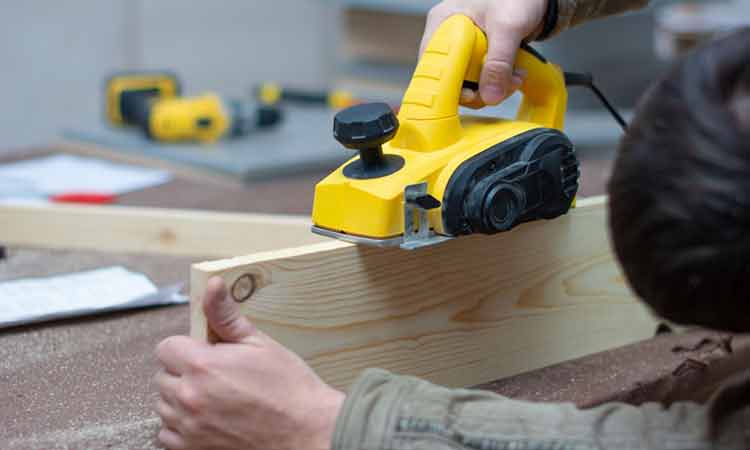
A wood router is a tool used by carpenters and handymen in order to cut clean edges into the wood to make them be able to join with other pieces of wood, specifically to create clean edge profiles, to make precision patterns in woods, to create rabbets, and to make dadoes. In this article, we will be covering how to use a wood router to make a variety of different cuts including the ones that we mentioned above.
For some general safety tips, always make sure that you hold the wood router firmly with 2 hands so that it can’t slip and injure you. Also be sure to wear the proper goggles to ensure that no little pieces of wood fly into your eyes, and also be sure to clamp the wood down firmly so it doesn’t move and cause injury while you are working on it.
Table of Contents
How to Use a Wood Router
How to Edge Routing
The first thing that you need to do when edge routing a piece of wood is to clamp it down tightly, then, using a fine pencil mark the lines or boundaries where you are going to be creating the edge. One of the keys to edge routing is to make sure that you are using a sharp piece and also to run the router in a counter-clockwise motion around the edge of the piece of wood.
Working in a counter-clockwise fashion makes the router much easier to control because it pushes the router towards you instead of away from you.
However, one problem that is often experienced when working in a counter-clockwise motion is that the corners of the wood tend to chip away. This problem can be solved by working in a clockwise motion for a few inches when you get near the corners.
Another tip to follow is that counter-clockwise edging should only be used when routing the outside edge of something. If you are routing the edges of the inside of a piece of wood, something like a picture frame, then you are going to want to work in a clockwise motion.
Something else to keep in mind before you begin routing the edge of a piece of wood is to sand the wood to smoothness first. If the wood is not smooth or has any minor imperfections, they will all be transferred to the finished product.
Another thing to do is to always test the edge cutting on a scrap piece of wood. This is for two reasons; first, you want to make sure that you are cutting at the proper depth, and second you want to make sure that the wood does not burn. Routing too much of the edge at once can cause the wood to burn. This can be avoided by doing 2 or 3 separate passes with the router to get to the depth that you require.
How to Edge Routing Narrow Stock
Edge routing a narrow stock or a narrow piece of wood is much harder than edge routing a bigger piece. Technically it is the exact same process as edge routing (see above), but you need to take a few extra steps to make sure that things go according to plan.
The main problem when edge routing a narrow piece of wood is that the clamps get in the way. Without clamps, the router can end up moving back and forth or bobbing from side to side which will end up with warped edging. The easiest way to solve this problem is to screw a piece of wood of the same thickness to the support bench which the router can then rest on as you work so it won’t move back and forth.
You should also screw a stop (piece of wood) at the edges of the wood to stop it from moving as you work. The rest of the process is exactly the same as edge routing a bigger piece of wood.
How to Routing Dadoes
Dadoes are another word for grooves, grooves being some of the best and most stable ways to support something like a shelf in a bookcase or cabinet. The best and easiest way to cut grooves into wood is by using you own jig.
You need to make your own jig, which is at-square. The jig is made of a 2-foot length piece of wood (a 1×2) screwed to a straight length of wood that is a 1×6. You are going to want the 1×6 to be a few inches longer than the wood that is being routed to ensure stability and a straight cut. Screw the jig together using a carpenter’s square so that it is perfectly straight; if the jig isn’t straight then neither will your final product.
To make the groove you are going to want to use a router bit that is the exact width of the groove you are making so that you can do it in one pass. Next, make a deep cut through the right side of the jig and pass into the wood. This should be tested on a scrap piece of wood first, and after you’ve done it you need to use a carpenter’s square to make sure that it turned out straight.
Once you are sure that the jig will enable you to make a straight cut, start with the actual material that you are working on. Mark the location of the grooves on the piece you are working on, clamp the jig firmly to the piece of wood, and then use the appropriate bit to create the grooves.
One thing to keep in mind is to only cut on the right side of the jig and to always push the router away from you; the direction in which the router turns will automatically pull it towards the jig. If you work on the left side of the jig then the router will tend to move away from the jig and create grooves that aren’t straight.
How to Routing a Rabbet
A rabbet is a piece of plywood backing used in bookcases and other such things to cover up other plywood edges that are not very appealing to the eyes. The technique for cutting rabbets is much the same as edge routing, the only difference being the bit that you are using. You need to use a special rabbet bit that matches the size of the edge of the plywood that you are covering up.
First, select the pilot bearing to cut a groove the same thickness as the edge of the piece of plywood being covered up. Change the depth of the router to cut about half an inch in depth; this will leave room for gluing, and then use the special rabbet bit to make the rabbet. Also, remember to cut counterclockwise when doing this.
How to Route a Pattern
The key to routing a pattern into a piece of wood is to use a special bottom-bearing flush trim router bit. The first step is to draw your pattern onto a piece of plywood. Then use a band saw to cut the pattern out of the plywood. Follow that by placing the pattern on to the piece of wood that will constitute the final product, and trace the pattern on to the wood.
To make sure it doesn’t move when tracing the pattern onto the final product, use some screws to keep it in place. Make sure that the screws you use aren’t so long as to poke through the front of the final product.
Once you have used the special router bit to cut out the pattern, remove the plywood pattern and fill the screw holes; it really couldn’t be any easier!

