
Besides being a remunerative profession, woodworking can be taken up for Do It Yourself (DYI), projects, or even as a pleasurable and constructive hobby. Like any other crafting profession, woodworking needs certain basic skills. And if you want to get started in woodworking for any of the preceding purposes, you need to follow certain sequential steps to know various aspects of woodworking.
Table of Contents
Follow the step to Get Started In Woodworking?
Besides being a remunerative profession, woodworking can be taken up for Do It Yourself (DYI), projects, or even as a pleasurable and constructive hobby. Like any other crafting profession, woodworking needs certain basic skills. And if you want to get started in woodworking for any of the preceding purposes, you need to follow certain sequential steps to know various aspects of woodworking.
Step 1: Determine the Purpose and Location

Be specific about the purpose for which you intend to get started in woodworking. If it is for DYI or hobby, you can choose any extra space in your garage or basement. If you want to adopt it as your profession, you can initially start your start-up work in the same locations, and after acquiring professional skills, you can choose a suitable outside location.
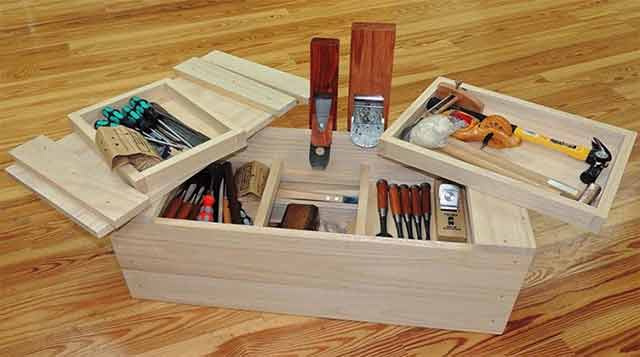
Step 2: Obtaining Tool Kits
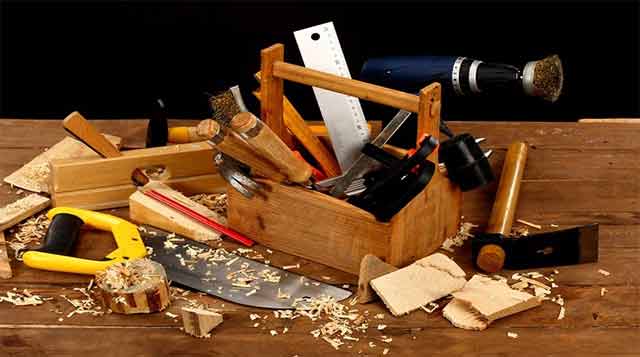
The following are different tools required, along with their functions in brief:
- A strong Workbench, fitted with a vice for steadily holding the workpiece, while it can cut or shape different wooden parts
- A measuring tape to mark and measure the sizes of parts.
- A Table Saw to mark rip cuts such as straight cuts or cross cuts
- A Router to shape profiles and edges, manually and to cut the joinery
- A Block Plane for shaping the parts or smoothing surfaces that you find rough.
- A Band Saw or a Jigsaw to make curved cuts and irregular cuts.
- A Sander for smoothing surfaces to make fine surfaces
- A collection of Clamps for holding your job on the bench for final assembling
Step 3: Make a Cutting Board
You can make cutting boards as your first project, because of the ease of the process involved. At the same time, you can know how to use different tools, the techniques involved in handling them. You can choose different sizes and shapes of wood, as per your tastes and liking. You can buy irregular-sized lumber and get the same milled to different sizes of lengths, breadths, and thicknesses.
You should learn different processes such as cutting the board to rough sizes with a band saw, rounding the edges with a router, to make the edges, smooth. You can do it by standing and making a hole in its handle by drilling so that it can hang.
Step 4: Fundamental Joinery for Furniture Making
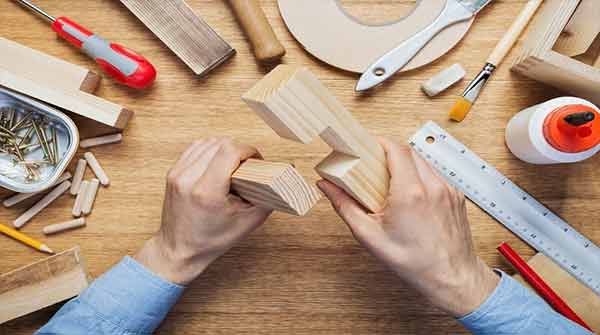
After making different parts and finishing them well, you need to join them to bring the desired shape and structure of the intended furniture. As beginners, you need first to learn butt joining. By applying the gluing compound, you have to join the board to the edge or face to a piece of a different board.
However, glue-joining is not very strong. Hence, you need to reinforce the joints by using metal screws or with a mechanical fastener, called a biscuit. There are yet more joinery techniques in which you need to cut one piece of board to match the end of a joining board. These techniques include the groove, rabbet or dado joint.
Next, you have to know about the special kind of router bit required for cutting the joinery. These techniques include cope and stick router bits that are used for making frames and panel doors. Other techniques include dovetail, Tenon, and mortise. You have to know other kinds of techniques
Step 5: 1st Part of Making a Box
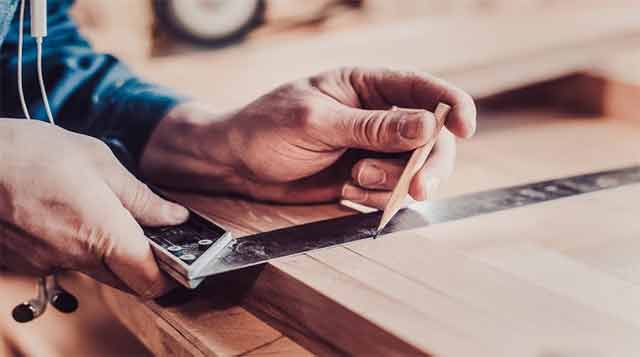
First, determine the dimensions of the box, you intend to make, such as the length, breadth, and height. For making a box, you have to cut out six pieces of wood from the wooden plank. You have to lay it out by using a pencil, square, and a marking gauge. After marking all the parts, use to cut the half-lap joinery, on the sides of the box
Here, you can learn the use of the backsaw of Western Style and the Pull Saw of Japanese style. At this stage, you need to learn the process of chopping and paring with a mallet and bench chisel. Remember to sharpen the plane irons and chisels using the same.
Step 6: 2nd Part of Making a Box
At this stage, you need to cut rabbet joints with a router table that can be built easily. It is a multi-purpose woodworking power tool for beginners. If properly handled, it can perform the function of the shaping of different sizes of joints by cutting the joinery. But, you need to know and adopt adequate safety measures which you can get from the tool manual
After this, you can assemble the whole box by gluing it. You have to be very meticulous and careful at this stage. Apply glue to the end portions of the different parts of the box. Make use of clamps for holding them in place, firmly. Then, allow the glue to dry. You should use hand planes for shaping the curved sides. The hand planes come in different sizes and shapes. Finally, choose a good finish to get a good result.
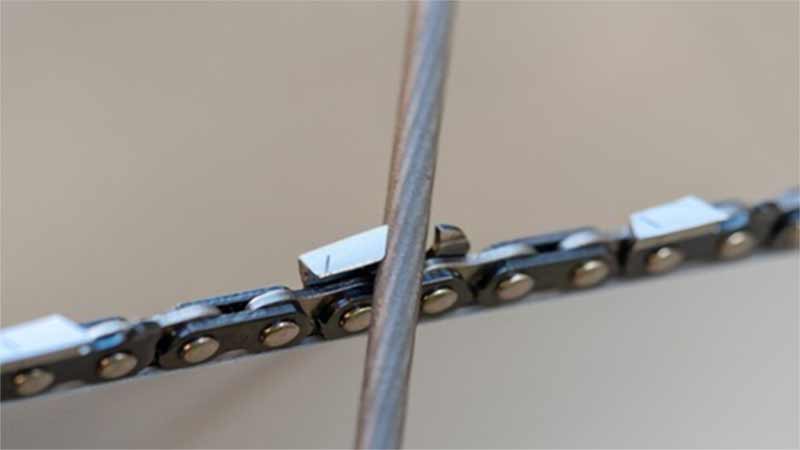
Step 7: Sharpening of Woodworking Tools
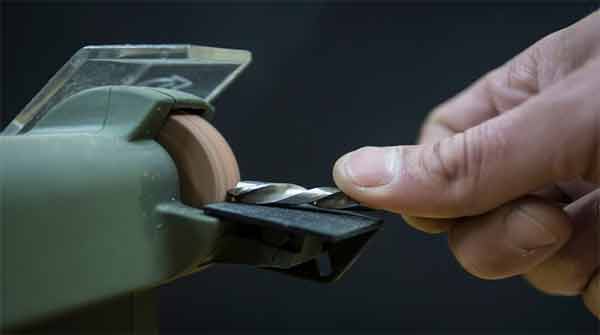
You should take particular care for sharpening chisels and hand planes, because they lose the required sharpness very quickly, with the application of hammering force. In certain operations of woodworking, you can finish the work quicker than by performing the same by power tools.
You need a lot of skill for holding it properly and gauging the required sharpness. The functions involved in sharpening include everything from polishing and flattening the back of the tools, to honing and grinding the bevel. After sharpening properly, you may need to regrind occasionally and honing it regularly. If your tools are sharp, your job becomes faster and enjoyable.
Step 8: Use of Hand Planes
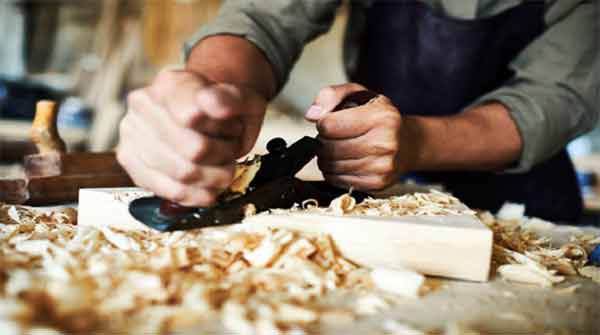
The special feature of a hand plane is that it is diminutive in size with more uses. Therefore, you can hold it continuously with your hand and perform woodworking operations such as smoothing the edges, trimming off the surface flush with another, breaking the corners, fitting the joinery, and cleaning up of end grain.
- Anatomy of a Block Plane: It is also commonly known as plane iron. It is mounted, keeping the bevel side upward. On a standard plane, it can cut an angle of 37 degrees. Similarly, on a low plane, it can cut up to 25. Some iron planes have mouths that could be adjusted as desired. Hence, it is tuned to perform different cuts. If you want to finish cuts, lower the blade by lowering its mouth. If you want thicker and rough cuts, extend the blade by opening its mouth.
- Selection of Right Block Plane: Depending upon the quality, the price of the block plane may range from $35 to $250; available in a hardware shop. You can even go in for the low-priced ones if you are prepared to tune them properly and use proper techniques for use. You can improve quality significantly with different brands.
Step 9: Milling of Rough Lumber
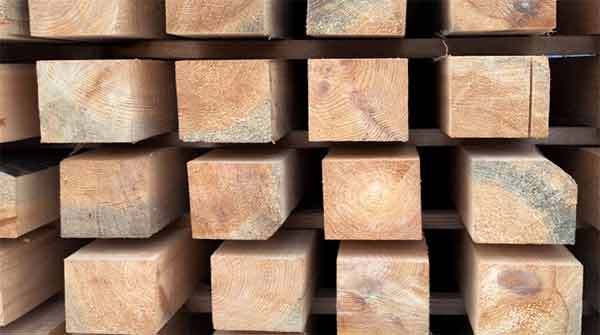
Rough lumber comes in odd shapes and sizes. You have to mill them to different sizes, like rectangular, square of different lengths and breadths, as required by your projects. Although you can buy lumber, already surfaced, going in for roughly-sawn lumber is less expensive. You can mill them to the custom thickness and thus enjoy more flexibility.
Tips for to Mill Lumber
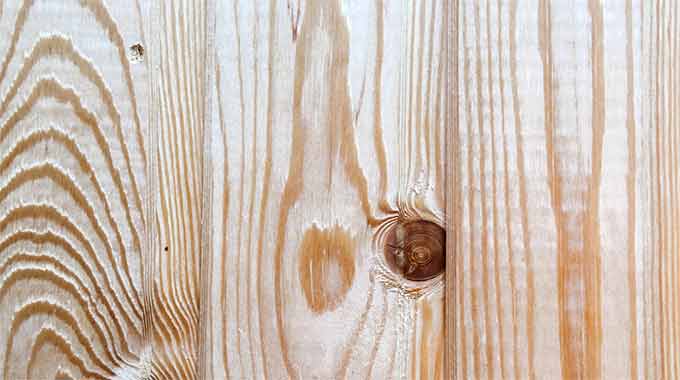
- The best cutting will be if you along the direction of its grain
- Using a router facilitates trimming edge in a straight manner
- You should use a planner for surfacing the face
- Use push blocks and sticks for safety
Step 10: Oiling & Waxing the Finish
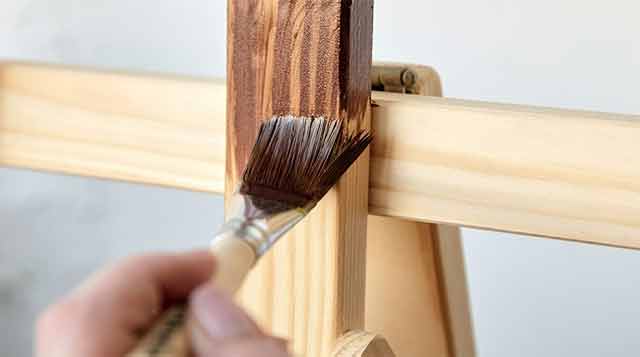
Prepare the surface first and then sand and surface the finish with a card scraper or a hand plane. After raising the grain by pouring water, go in for sanding and burnishing the surface, once again. Finally, pour plenty of boiled linseed oil on the wood surface. Then once again burnish it with a pad that is abrasive put a layer of wax over the surface.
List of Basic Tools and Brands
Hammer, Measuring Tape, Speed Square, and Utility Knife, Clamps, circular saw, orbital sander, drill & driver, table saw, Kreg jig, Pliers. Various brands for tools are Ridgid, Makita, Dewalt, Bosch, Black & Decker, Milwaukee, and Ryobi.
Keep reading our latest posts to enhance your how to get started in woodworking skills!