A coping Saw is one of the essential tools that any DIY Woodwork beginner requires to have when it comes to working. That is what makes this tool very essential. Having the right tools especially when you are a beginner in the woodwork project is very handy and plays a vital role in the final product that you will get. A Coping Saw is usually essential when you want to increase the precision and accuracy of your working on the workshop.
When planning how to use a Coping Saw then there are certain techniques that you need to always keep in mind. A coping saw is usually an essential tool that you need to have especially when you want to make the Coping Joints. Also when you need to make details cut into the woods or even make curves then the Coping Saw provides the most practical way to do that.
The coping saw is best preferred because it creates accurate and clean Cuts though it requires one to have more experience to handle this.
Table of Contents
How to Use a Coping Saw for Your DIY Project
Components of a Coping Saw
- Blade this is normally 150 mm of length.
- U- Frame
- Handle.
Requirements
You need the following for you to start using the Coping Saw.
- Pinewood; its best preferred cause it’s very simple to use and also very simple to cut. This is a softwood.
- A drawing of your Project.
- A pencil.
- A Coping Saw.
- A Bench.
Procedures and Steps of Using a Coping Saw
Step One: Assemble the Coping Saw
When assembling the coping saw you need to make sure the teeth of the Saw point towards the handle. This will allow you to cut as you pull rather than cutting as you push. This is one of the ultimate ways of increasing your accuracy.
It usually recommended that you replace the blade when it’s blunt rather than sharpening it.
Step Two: Sketch the Curve that you need to make
This is where you will come up with a sketch of the piece of the curve that you need to make on a piece of paper. Outline all the shapes and curves that are involved in your DIY Project. You will then make the template of the Outline of your Project on the wood.
Step Three: Trace the Curve on your Wood
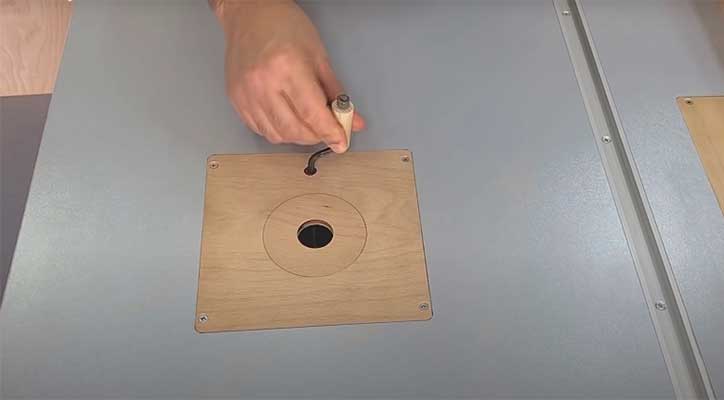
Using a pencil, you will trace the outline of the curves that you need to make your project on the Pine Wood. Always ensure that the axle holes of your project do face upwards. Mark the Positions of the axle’s holes on the wood with dots.
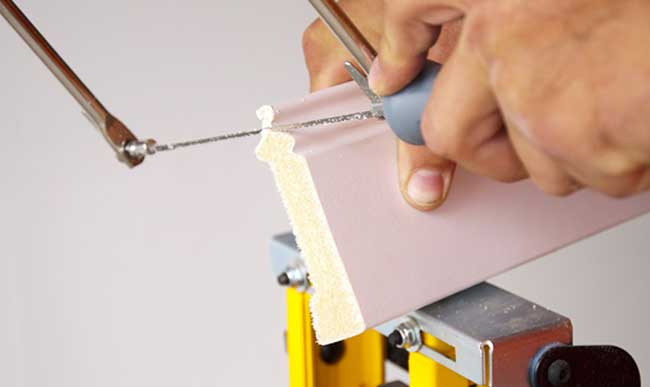
Step Four: Begin the Cutting
- You will set the Coping Saw Blade down where the line and curves that you had drawn on your wood meets the edge of the wood.
- Keeping the saw at a right angle to the block of the Pine Tree wood you will cut through both sides.
- While cutting its recommended that you always push the saw away from you so as to make a little Grove in the wood.
- You will then lift the saw up and move it towards you and set it in the grove.
- You will then push and pull the saw back and forth.
- Always keep a little pressure on the blade but do not bend the blade.
- When the blade begins to wonder you will twist the handle of your Saw so as to glide it back.
- Always follow the outline marks that you have made on the block while cutting.
Step 5 the Final Step
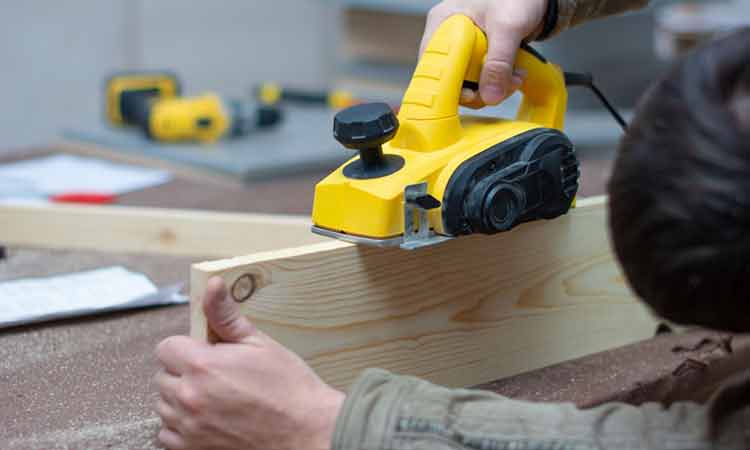
You will then begin sanding the outlined curve using a sand paper and employ the finalizing techniques that you had learned.
Sawing Tips that you need to always keep in mind
Sawing is a technique that is normally acquired through experience and thorough practice. Despite that, we do have certain tips that when observed will be effective in giving you the right tips that you do require when it comes to sawing. Here are the sawing tips that are effective in the sawing skills that you do have.
- You need to have a thorough practice to tests your skills since a coping saw can be difficult to Control.
- Always Clamp your block onto a surface before you begin sawing so as to enable you to saw according to the lines that you had outlined.
- Always begin by making short gentle strokes. A longer Cut can be done when the saw riches the quarter inch of the wood.
- Always go slow when making the cutting as you watch carefully to ensure that the cut stays in the outlines lines in the wood. When you cut wonders, you can always start cutting from the opposite side or come in from the different angle.
In Conclusion
Sawing is regarded as one of the difficult techniques that there are no shortcuts when you want to master it rather than having constant practice. When you are selecting the Coping Saw always go for the best coping saw especially when you are a beginner in the woodwork project. This will enable you to master the skills of Sawing how to use a Coping Saw. When the blade is blunt or is bent then going for another new blade is the recommended option. Do not bother sharpening it or straightening it since this will affect the quality of your work especially when you want to make curves.