Have you ever wondered how some wooden structures seem to be having definite bends yet the wood used was originally straight? The question that many ordinary people would ask upon seeing such structures would be how possible was it to bend the wood and what could have been the process. For the experts involved in constructing such structures, they understand how to bend wood with water the process is easy.
Yes! It is not rocket science. It is as easy as you may probably think of. As a matter of fact, numerous methods can be used in bending wood. However, this article focuses on understanding how to bend wood with water. It would be vital for you to know how this process takes place so as to have the idea and knowledge of doing the same. This could be helpful to you in one way or the other. You may also easily do it when in need of constructing a structure that requires a bent wood. Bent woods add some uniqueness to the project built thus making it look appealing and exceptional.
Table of Contents
Benefits of bending wood with water
- Bending wood with water is a good way to get definitive wooden structures.
- Additionally, it also makes the wood stronger thus making the structure made using the bentwood more sturdy and durable.
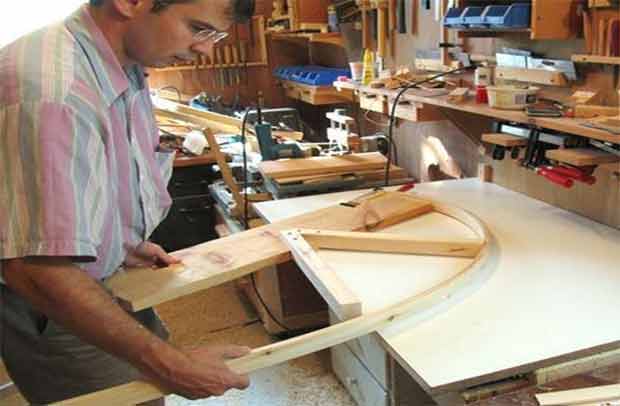
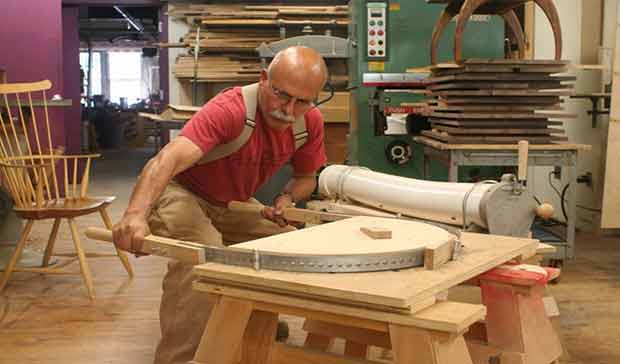
Before bending the wood using water, ensure that you profile the mold or frame and establish the extent to which you need it to bend. The importance of this is so that you don’t do it extremes which may end up compromising the quality of the final structure to be constructed.
Here is How to bend wood with water
Step 1:
First, select the particular type of wood that you would like to bend using water be it soft or hard wood. But you should understand that the thickness of the wood plays a great role in the bending process, and so you need to determine it for best results carefully. Obviously, the wood with lesser thickness yield better results and you can, therefore, go for one that is less than 20mm.
Step 2:
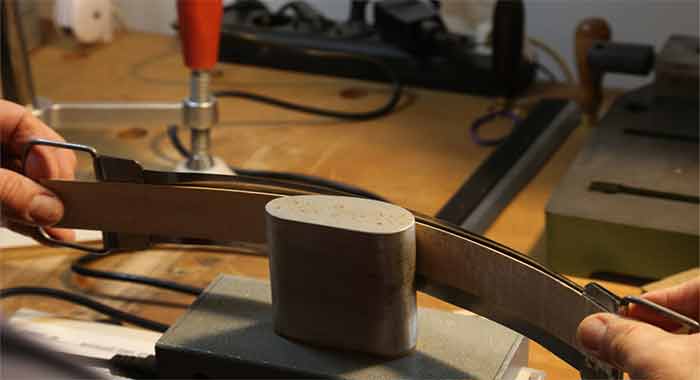
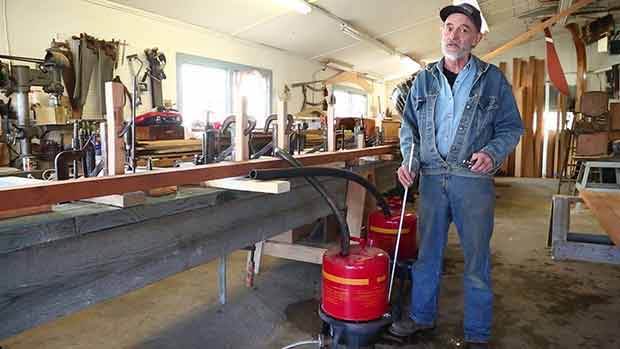
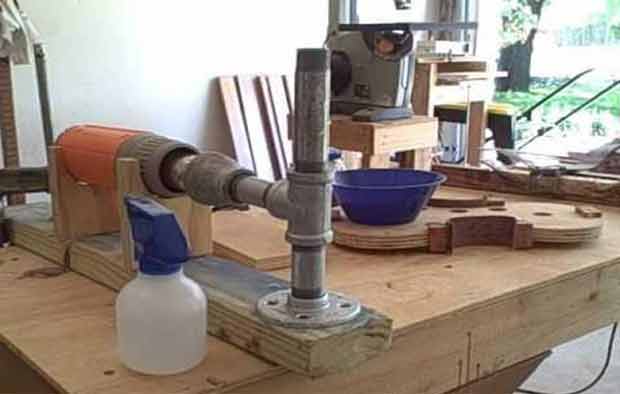
Arrange a tank or container that is sizeable enough to fit the wood beam and fill water into it. It is recommended that you heat the water in that container to raise its temperature as relatively hot water seems to be more efficient in bending woods than cold water.
Step 3:
Place the timber that you need to be bend in that container with relatively warm water and allow it to soak for some time. As earlier stated, water with slightly high temperatures is preferred because it is ideal in yielding desirable results. The duration in which you let the wood soak in water will depend on the type of wood needed to be bent; it may be a couple of minutes to a few hours.
Step 4:
After the wood has absorbed the water, try bending it slowly until your achieve your desired bend. Just keep in mind that you need to do this when the wood is still wet. After it is bent, you should then leave it to dry. You may also apply insignificant direct heat especially if that particular wood is relatively thick. Once you finish drying it using the heat, make sure that you hold it with enough clamps to prevent it from any chances of slight or immense straightening again.
Note: If the width of the wood is short, bend it along the grain while it is still wet. However, if the width of that wood is a bit large, bend it along the grain, still while still wet.
Step 5:
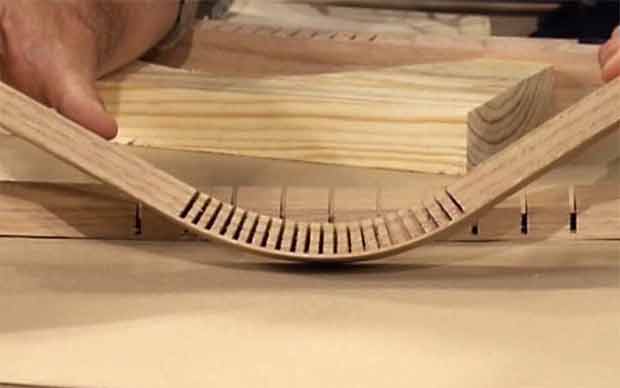
Next thing to do is to use a sharp knife to score the wet wood. Make sure that you create numerous scores that are uniformly spaced across the preferred bend using the sharp knife. It is also important to ensure that the scores are created inside the curve at the time that the wood is being bent. The best way of creating uniform spaces is by using a tape measure in marking the points.
Step 6:
After creating the even spaces, use a suitable and recommended glue in between the wood strips and then bend it cautiously so as to form the shape that you desire eventually. After getting the shape that you wish, place the wood at a place where it can dry. If possible, use a set of clamps to help in maintaining the shape the wood dries.
It would be ideal to note that using many thin strips of wood to bend yields better results than using a thick beam of wood.
Ensure that you create bigger and smoother curves; this is something that you should always keep in mind because the bigger and smoother the curves, the easier it is when it comes to bending.
You will then have your dream well-bent wood.
Alternatively, you could also choose to leave the wood outside in the open space so that it might be rained on after which you can then bend it using a sponge or horse.
Conclusion
With all the above information, I believe that you have how to bend wood with water. It is always vital to know this kind of information so that you can be able to do it yourself whenever it is necessary. Certain things do not necessarily require professional input or consideration and bending wood is one of them.
At times, having the general knowledge of how to carry out this process yourself is fundamental because it allows you to save a substantial amount of money that you could otherwise have spent in paying a professional to do it, whereby they might do it to extents that you don’t like.
In many instances, when you do it alone, you also end up getting the best design that you actually wanted, which is good because it enables you bend it based on your personal preference and also give you a strong and durable wood material for building.