There is a variety of reasons as to why people desire felt on their wood projects. The denominator is that regardless of your reasons, the applications procedures and techniques remain the same. Do you want to boost the aesthetic qualities of your wood project by protecting it from scratches?
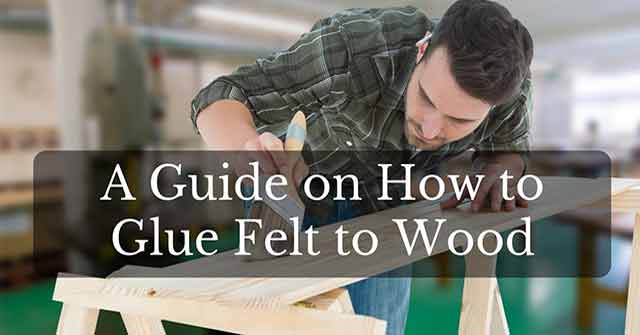
The Glue felt to wood is one of the easiest activities in woodwork. So easy it is that even a beginner in the woodwork industry will be able to handle it with a lot of ease. However, being easy doesn’t mean that it isn’t tricky. The fact that felt has the tendency of soaking up glue, something that can end up being messy means that glue felt to wood needs maximum attention to detail. You must, therefore, be as careful and as precise as possible during the exercise.
Table of Contents
Basic Steps for Glue Felt to Wood
The five basic steps involved are:
- Gathering of the relevant and proper materials
- Sizing of your felt
- Correct glue application
- Pressure addition and drying
- Excessive felt trimming
1. Gathering of Materials
Felt
The quality of your project will mainly be determined by the quality of the felt you choose. Poor quality felt will soak the glue no matter how much attentive and professional you may be in this field. In addition, lower quality felt tend to stretch more as compared to their higher quality counterparts. If the wood you are gluing will be subjected to light, look for those felt brands that don’t fade up easily. The best way of getting the best felt is by going for those reputable brands that have high ratings and good reviews.
A lot of attention should be placed on the felt thickness you go for, with different projects requiring different thicknesses.
Glue
The accessibility and size of the space you want to apply felt on determines the type of glue you should acquire. Wet cement will offer the best solution for glue felting wood inside small, limited space areas. However, if your project is on large spacious areas, spray adhesives are the most recommendable types with white Elmer’s glue being the most suitable for small projects, which don’t require a lot of strain.
Tools
For obvious reasons, when using Elmer’s glue or wet cement, foam brushes will be needed for glue application. In case you consider buying reusable brushes, remember to buy some paint remover or thinner to use in cleaning the brush after glue application.
In the event that spray adhesives are used, a removable painters tape and a newspaper will be needed. These will be used to block off the glue and felt from getting to the adjacent areas where you don’t need them.
Rollers will also be needed to smooth the wrinkles out of the felt of large areas with scrappers or old credit card do just well for small spaces.
2. Felt Sizing
Measure the length and thickness of your area to know the rough estimates of the felt size needed. Ensure that any extra pieces and cutouts are accounted for in the area measurement. After measuring, trace the area on your felt of choice and go ahead to carefully trim it with a utility knife or a pair of scissors, leaving an excess felt all round.
3. Correct Glue Application
If you will be using the spray adhesives, start by taping off the areas that are in danger of being over sprayed.
Apply your glue on one side of the wood and its corresponding felt side. And starting at the corners, cautiously place the corresponding wet sides of the wood and felt together. With special attention being paid to all edges and corners, apply steady pressure as you move along the area, to the opposite edge. Be keen not to stretch your felt towards the outer sides of the area as it may end up not fitting the opposite sides.
The other option is to apply an extremely thin glue film on the entire felt surface followed by cautious sticking on the woodwork as mentioned earlier. In this case, let the glue film be super thin.
And with the use of a roller or a scrapper, eliminate any bumps that form in the felt, beginning from the center as you move out in all directions.
4. Pressure Addition and Drying
At this stage, a wax paper is placed over the felt. This is to insure against the glue against adherence to an object as well as against bleeding through. To ensure that the felt doesn’t lift when it’s drying, a heavy object is placed on top of the wax paper.
Allow the glue at least ten minutes to dry, or as indicated in the manufacturer’s guide and upon drying, purpose to remove the wax paper and object.
5. Trim Excesses
Your felt is now in position and all that remains is to give it a Midas touch by trimming any excesses. Thoroughly inspect the edges of the project and use a utility knife to remove any overhang or unevenness that brings about imperfections to the area. If your project is a large piece, the use of a straight edge will be useful in the removal of the aforementioned imperfections.
Overhang removal will not only give the project a professional appearance but also keep it from tearing off and snagging.
In Conclusion
You now have a woodworking project that you can stand back and admire. It is that easy. By being keen to follow the steps on this guide, you will not need any professional training to glue felt to a piece of woodwork. If you have mastered this woodworking element, get out of your cocoon and start practicing now, as this is the only sure way to perfection.