Routers are great tools because they can be used for a wide variety of jobs. Wood routers are a necessary part of any wood worker or carpenter’s arsenal because without it they couldn’t do half of the jobs that they do. One thing that is very important when it comes to wood router in proper maintenance, especially so if you are going to be using it on a daily basis.
If you use it every day you should perform this routine maintenance check that we outline below about once every 2 weeks.
Table of Contents
Step for How to Maintain a Wood Route
Keep reading and follow our step by guide on how to maintain a wood router.
Step 1
The first step in maintaining your router is to unplug it and make sure that there is no power available to it. At this point you should check the router cord for any damage. Inspect the cord along its length for any tears and inspect the blades that plug into the wall to see if they are bent or damaged. If the chord is damaged you can always use some electrical tape or do some wire splicing to attach a new chord length. If the blades are damaged you will have to replace the plug head.
Step 2
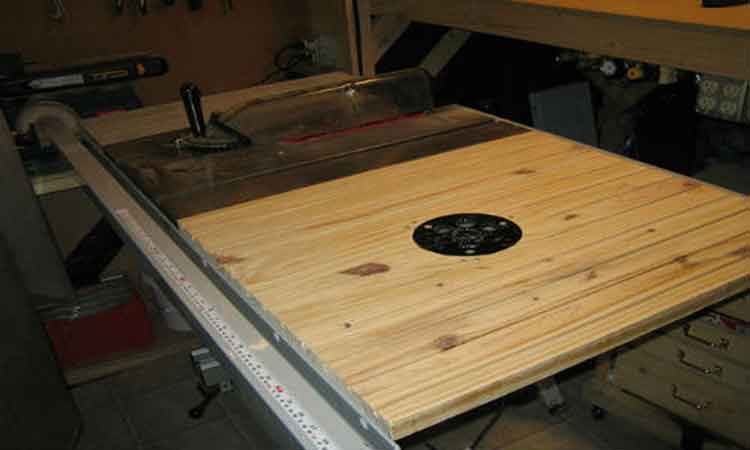
The next thing to be done is to clean the debris collection system or the air vacuum that sucks away the wood bits and sawdust. On a side note, if you have a router table mounted router it is extremely important to have a dust collection system so that the sawdust does not build up, so that the wood debris doesn’t clog and damage your router, and so that excess heat gets sucked away and keeps the router from overheating.
Just make sure that your dust collection system is free of any debris and that it’s all clear of sawdust. Take apart the dust collection system and use compresses air to remove any debris that may have gotten caught in the tubes or motor of the dust collector.
Step 3
Use a heavy duty vacuum to suck away all debris and sawdust that you can find. Collect the wood debris from all notches and cracks and suck the debris out of the router’s motor, the air vents of the router, the collet, and the plunge mechanism. This can also be done by using compresses air to shoot the debris out of the other end of the router components. Too much dust on the inside of the router’s moving parts can cause friction and heat, plus the heat created by the router will be absorbed and unable to be dispersed.
Step 4
Routers all have brushes that require maintenance. Open the port on the side of the router to get to these brushes. A sure fire way to know that these brushes are getting old is if there is a distinct loss of power while using the router and also if there are a lot of sparks coming out of the router’s motor area. If the brushes do this and if they look worn out you will need to replace them.
Step 5
This is not something that we can tell you how to do because each router has a different way of cleaning the plunge mechanism. You should consult your owner’s manual to figure out how to clean the plunge mechanism.
Step 6
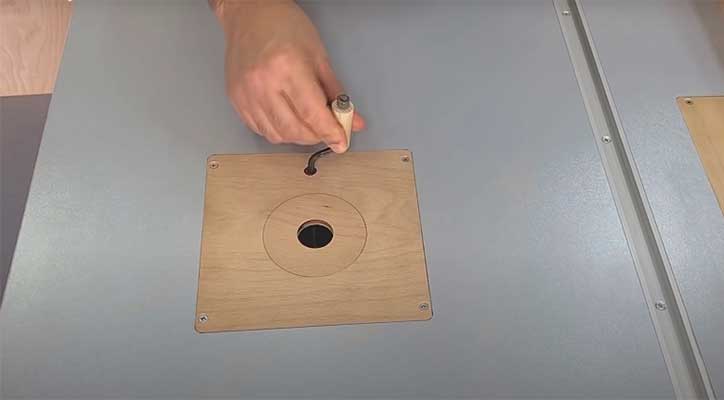
The final step in maintaining your router is to clean the collet and the nut that holds it in place. Drop both the collet and the bit in a solvent bath to make any debris deteriorate. Use a nylon or brass brush to scrub the collet and the bit.
Also use a nylon or brass brush to scrub the inside of the shaft here debris often builds up. Use the brush as well as a folded piece of craft paper to give the shaft and the inside of the center a good scrubbing to remove any remaining wood debris.